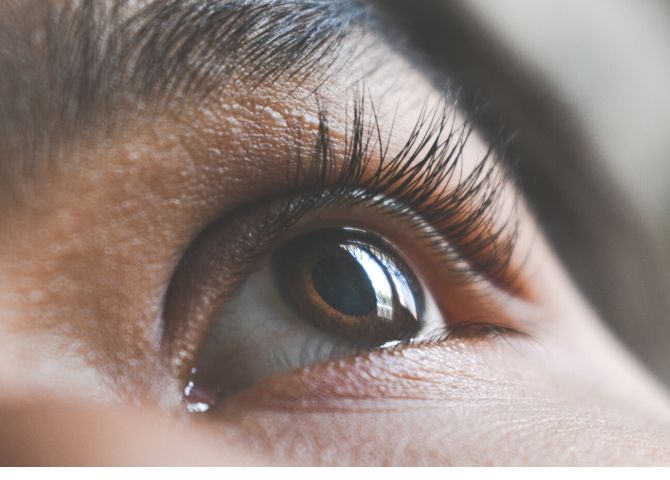
 I have been bearing my tiny eyelashes for a long time. My small and thin eyelashes made me feel less confident and I always tried to cover up my tiny eyelashes with mascara and falsies. But all these methods are temporary and the sad reality with tiny eyelashes hits back again.
I even went ahead with eyelashes extensions but it requires a lot of after-care and it also damaged my eyelashes to a great extent, so I promised myself never to get eyelashes extension ever again. I had given up all hope of getting thick and long eyelashes, until a friend of mine recommend me lash lift. I was pretty shocked when she told me that I do not even require to go to the clinic and do it all by myself by getting a kit! Yes, you heard it right! I was surprised and thought that how to do lash lift at home? After going through a lot of material and videos available on internet and decided to give it a try! In this article, I will share my experience with you about my entire experience of lash lift kit and what do I feel about it? So, let’s start! So, I ordered a lash lift kit from Dolly’s lash and it arrived in a couple of week’s time. It arrived in a big black box which consisted of a perm lotion, setting lotion, Nourishing agent, glue, 5 pairs of silicone pads. The lash lift process Basically, you have to start the process by applying silicon pads with the help of lash lift glue to your eyelids. Get it as close to the lash-line as possible. Do the same for the downward lashes too. Now, you are all set to start the process of lash lift treatment. After that I put the perming solution with the help of Q-tip on my glued eyelashes. Here I will recommend you that put the tips and the middle of the lash shaft, so that the lashes do not stick out of the silicon pads and ruin all your hard work. As you are doing it on your own, be careful during the entire procedure. You do not want to open your eyes to uneven and crooked looking eyelashes. Let the perming solution sit for a 10-15 minutes time and then apply setting solution with the help of a Q-Tip. After letting it stay there for 10-15 minutes, apply the nourishing lotion. After letting it stay for 10 minutes times, you can use the cleansing water to take the lashes of the pad. After I was done with the above process, I was all set to face both the best and the worst outcome! When I looked myself in the mirror, I had only one word in my mouth “Wow” because that was how my eyelashes looked all standing up with pride and prickly. My eye looked wide-awake and big for the first time. So, I was very satisfied with the results and I am always going to have Dolly’s eyelash perming kit with me! What about you? Give it a try. Good Luck!
0 Comments
Leave a Reply. |
 RSS Feed
